Introduction
The Push Cash Native Integration removes steps from the payment user experience by allowing operators to embed card-acceptance and the payment authorization process within their applications. This guide provides detailed step-by-step instructions for developers embarking on the integration. Let’s get started.Guide
Making payments using Push Secure Debit requires a few steps to be performed across your application backend and frontend. Before you get started, make sure you have API access to our sandbox environment.Step 1: Display button on cashier
Add a button to your cashier which allows users to select “Secure Debit” as their payment option.| New User | Returning User |
|---|---|
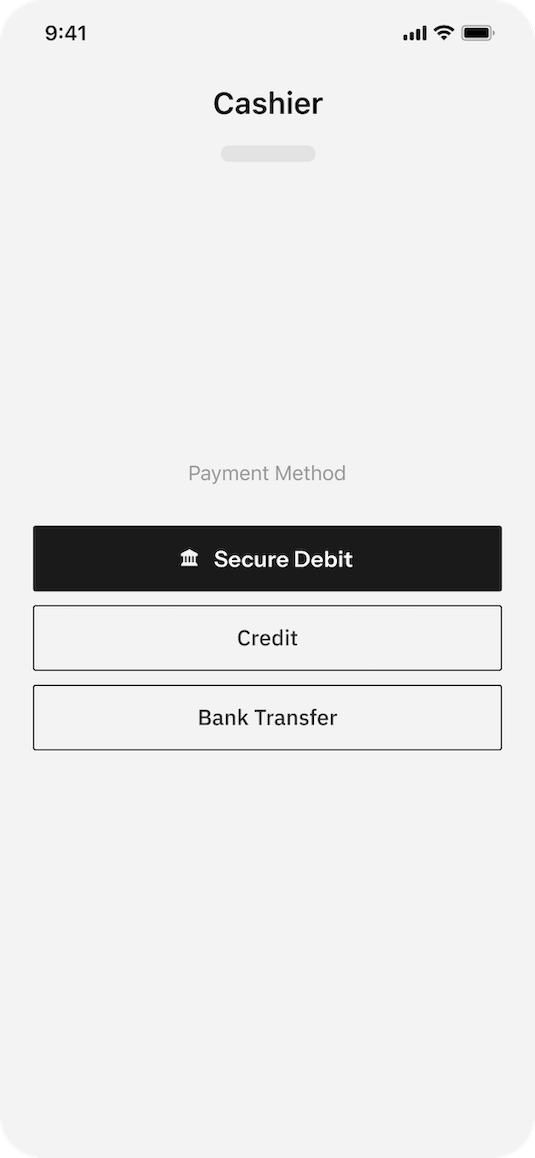 |  |

create user endpoint.
- User navigates to cashier in operator’s application
- App makes request to backend endpoint for cashier page
- Backend submits user data to Push’s User Service
- Push’s User Service returns identifier for user
- Backend stores user identifier in database
- App renders cashier to user
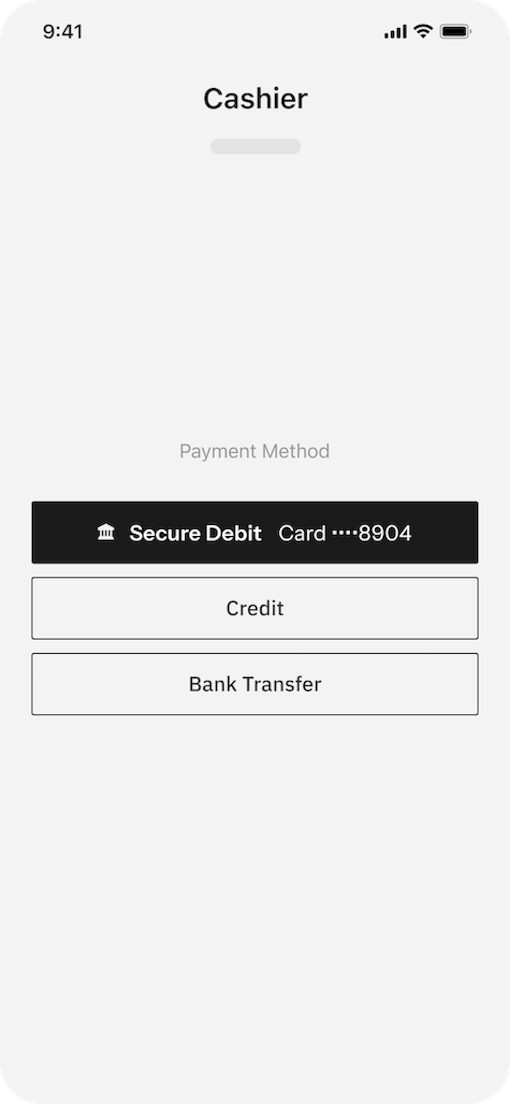
get user and parse the response.
Example request to Push User Service
- User navigates to cashier in operator’s application
- App makes request to backend endpoint for cashier page
- Backend requests user object from Push API
- Push API returns user object
- Backend parses response, returns information for user’s stored payment info to application.
- Application renders cashier to user
Step 2: Display Push User Widget on payment page
Display the Push User Widget when the user selects Push as their payment option.| Your payment page | Push User Widget |
|---|---|
 | 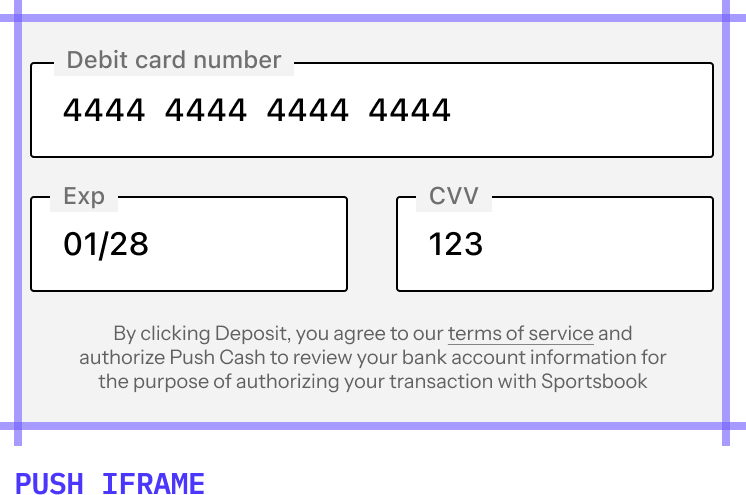 |
 |  |
Generate Widget URL
Generate the URL for the Push User Widget by making a request to thecreate widget url endpoint. Provide the user’s ID and direction of their payment.
Render Push User Widget
To render the Push User Widget, you must load the Push Javascript SDK from our CDN.PushCash namespace on the window. Use the Widget function to render the Push User Widget. Provide the target element on the DOM where the component will render and the URL.
Styling & Dimensions
- We support customization of the widget’s background and color, font size, border-radius, and container padding.
- The dimensions of the Push User Widget are a height of 164px and a minimum width of 303px.
- User selects “Secure Debit” in cashier
- App makes request to backend endpoint for payment page
- Backend requests widget url from Push User Service
- Push User Service returns URL
- Backend returns URL to app
- App requests Widget from SDK
- SDK renders Widget to payment page
- User interacts with Widget on payment page
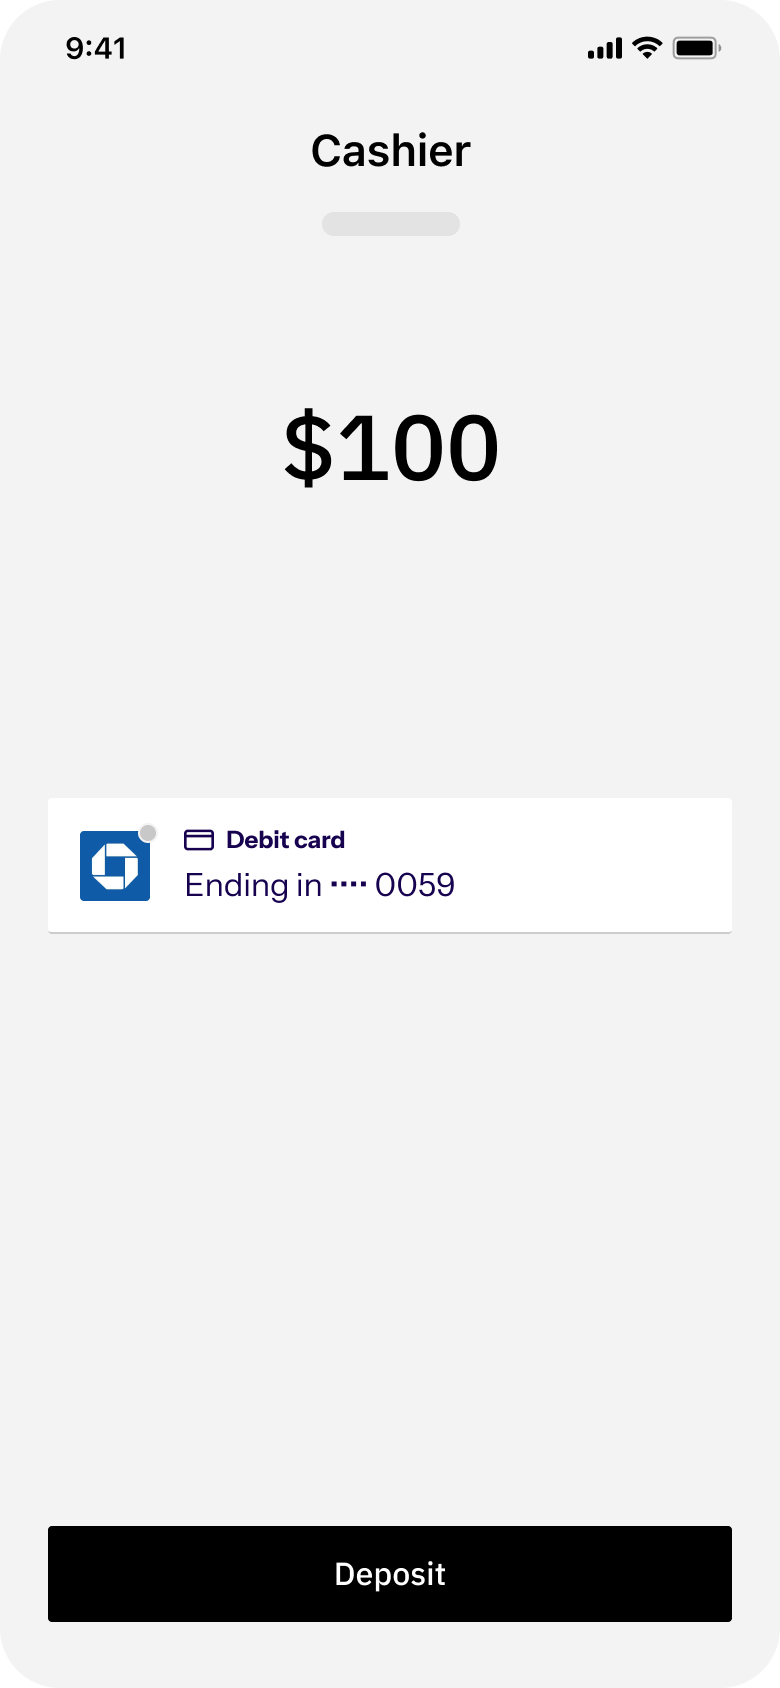
Step 3: Submit payment to Push Authorization Engine
Invoke the Push Authorization Engine when the user submits their payment.- First, display a message to the user notifying them that their payment is being processed.
- Then, retrieve a token from the Push User Widget.
- Finally, make a request to the Push Authorization Engine.
| Card Unsubmitted | Payment Processing |
|---|---|
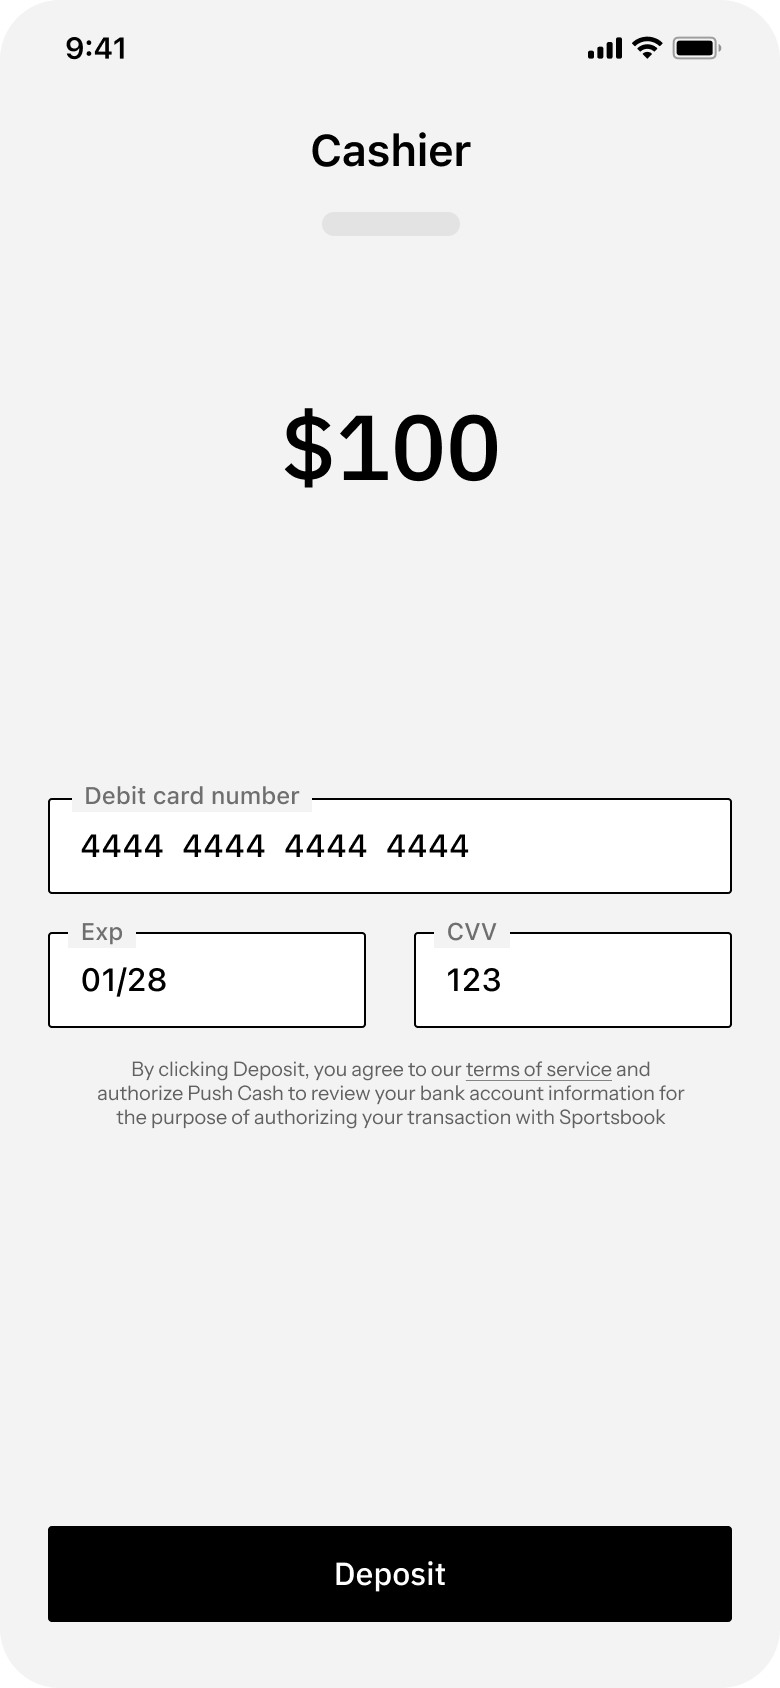 | 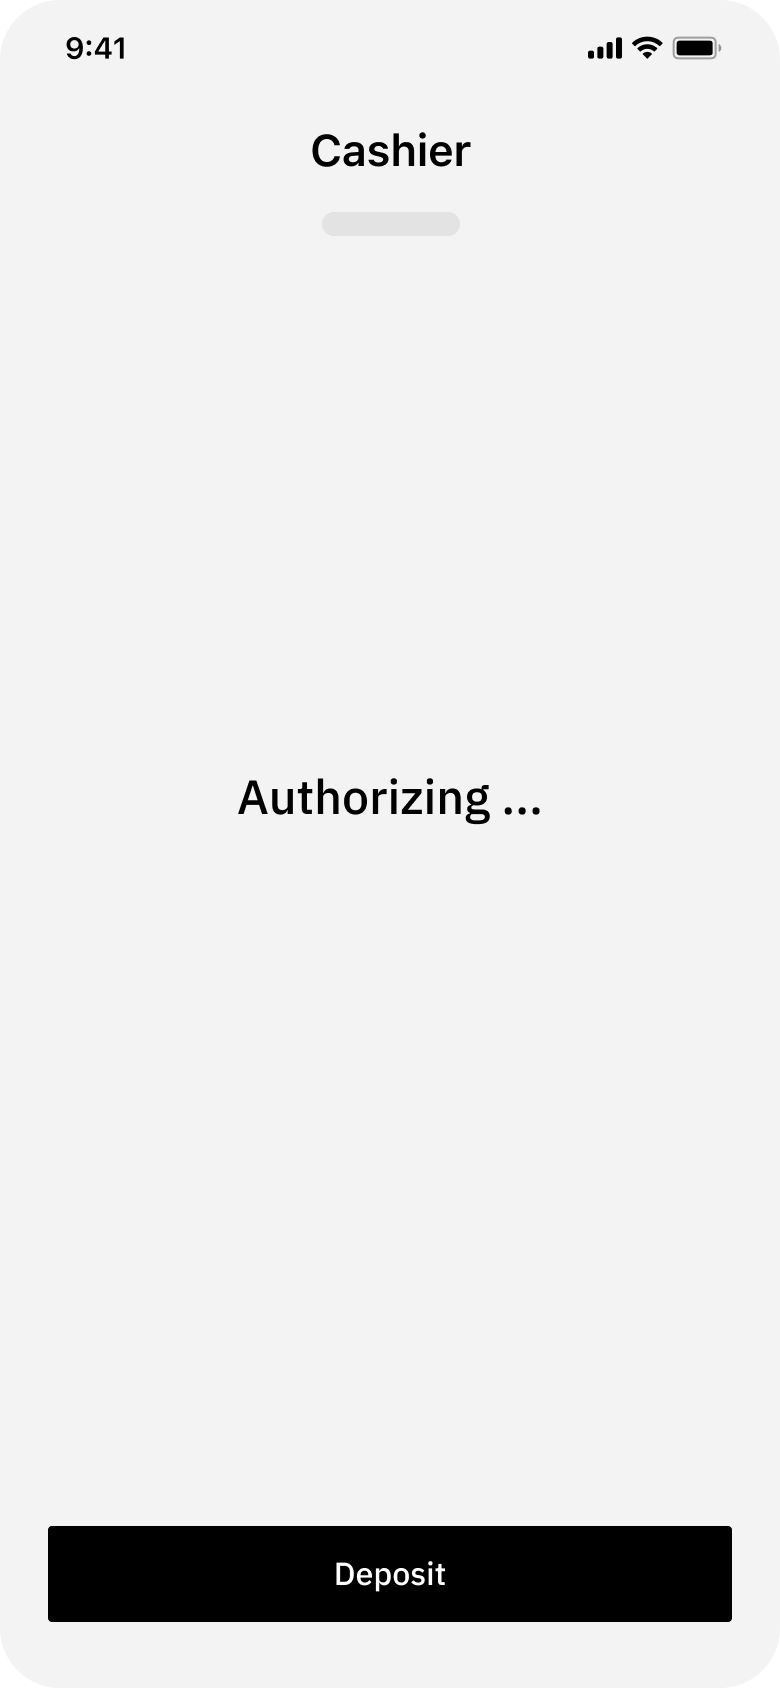 |
Generate the token
When the user submits their payment, invoke the tokenize function and handle the returned Promise.Request Authorization
Submit the token to your application backend, then make a request toauthorize payment.
- User clicks submit button on payment page
- App displays processing page to user
- App requests token from Widget
- Widget returns token to App
- App submits token along with payment parameters to operator’s backend
- Backend invokes Push Authorization Engine
Step 4: Handle authorization result
The Push Authorization Engine will determine whether to approve, decline, or require user authentication for the payment, then respond with the payment status. Determine the result by inspecting the response’s HTTP status code:- If the payment was approved, the status code will be
200 OK - If the payment was declined, the status code will be
401 Unauthorized - If the payment requires authentication, the status code will be
202 Accepted
Set your timeout to at least 15s in order to allow sufficient time to complete the request.
| Transaction Approved | Transaction Declined |
|---|---|
Step 5: Redirect user to authentication flow
If the request cannot be immediately authorized, direct the user to the authentication flow to complete the payment.| Payment Unsubmitted | Payment Authorizing | Authentication Required |
|---|---|---|
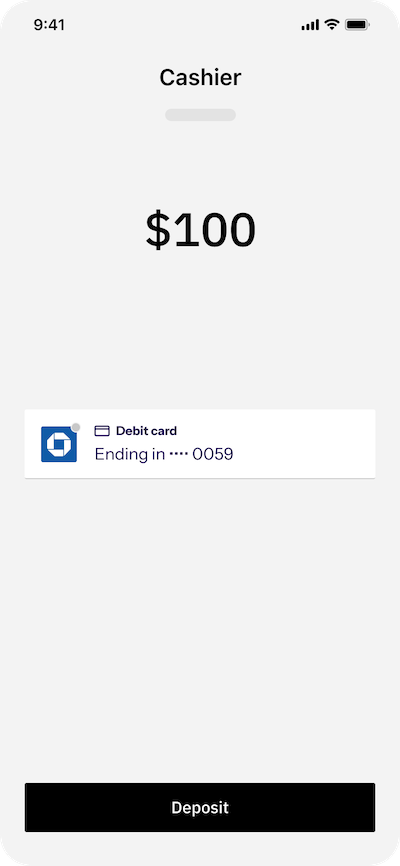 | 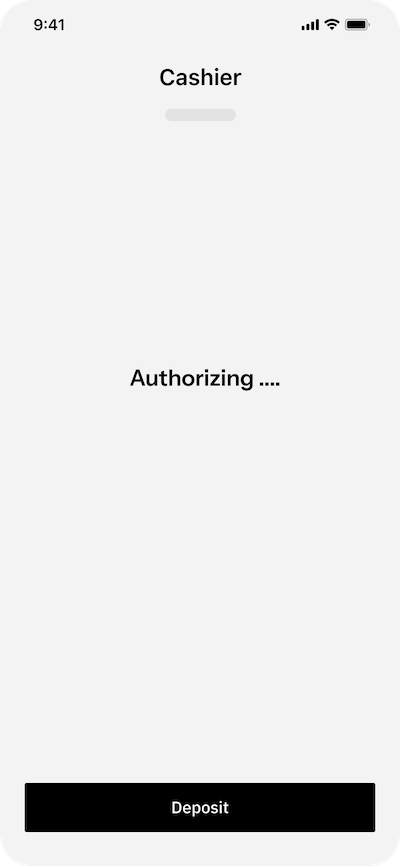 | 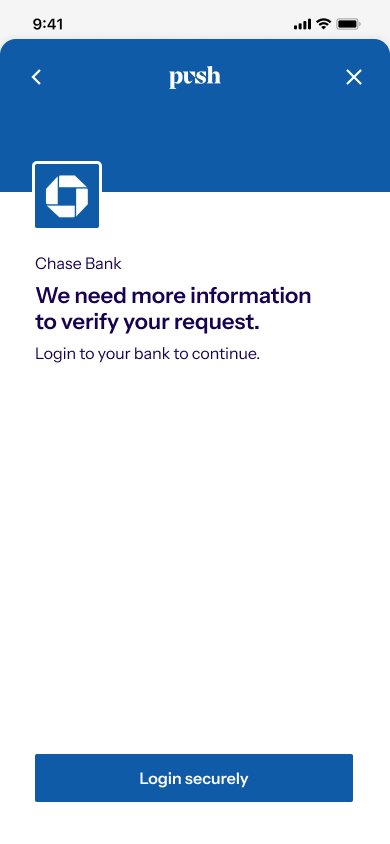 |
get an intent to determine the result of the payment.
Depending on your application architecture, you must take different approaches to presenting the authentication flow to users so they can complete their payments on Push.
- Use the web guide if your cashier and payment pages are websites accessed via the browser.
- Use the webview guide if your cashier and payment pages are websites which are viewers through a mobile application in a webview.
- Use the mobile guide if your cashier and payment pages are developed using mobile-native technologies (swift / objective-c, android kotlin, react native, etc.)
Web
If users access your application directly through their web browser on mobile / desktop, display the authentication flow in an iframe. Step 1: Ensure redirect_url is omitted from authorization requestBefore rendering the iframe, ensure that the
redirect_url parameter is not included in your request to the /authorize endpoint. This ensures that the authentication iframe uses postMessage communication instead of href redirection to signal when the session is complete.
With the URL returned from the Push Authorization Engine, render the authentication flow as an iframe element on the DOM.
The authentication flow will submit a post message event when the session concludes. To handle this event,
- Attach a listener to the iframe element.
- Parse the message for the intent ID and retrieve the payment status from the
get an intentendpoint.
Mobile Webview
For operators with applications developed using browser technology, but are exclusively accessed through a webview in a mobile app, display the authentication flow via redirect. Direct the user to the authentication URL from within your application webview, and they will be redirected back at the conclusion of the flow. Step 1: Submit redirect_url parameter to authorization engineDefine where users will be redirected after the conclusion of the authentication flow in your request to the authorization engine. Pass the
redirect_url parameter in the json request body.
example request
With the URL returned from the authorization engine, re-direct the user to the authentication flow. example javascript
At the conclusion of the flow, the user will be redirected back from the authentication flow to your application. Parse the
intent_id parameter from the URL and make an authenticated request to get an intent to determine the status of the payment
Mobile
For operators with applications developed using mobile technologies, display the authentication flow via secure webview technology. Step 1: Submit redirect_url parameter to authorization engineSubmit a redirect_url with a custom-scheme to the Push authorization engine. Use a custom-scheme like
pushcash:// or similar.
example request
Use a secure webview technology like ASWebAuthenticationSession or similar to display the authentication session to users. Attach listeners for redirects to the custom-scheme to determine when the user has completed the authentication flow. Parse the
intent_id parameter from the URL and make an authenticated request to get an intent to determine the status of the payment.