> ## Documentation Index
> Fetch the complete documentation index at: https://docs.pushcash.com/llms.txt
> Use this file to discover all available pages before exploring further.
# User authentication
## Goal
Detect when a payment requires step-up authentication and present the authentication UI so the user can complete the payment.
What you need to do
Decide how the authentication UI will be presented to the user (iframe or system browser redirect) and configure the authorization request accordingly.
#### How to do it
1. Determine the presentation method based on your application environment (see [determining how to display the authentication UI](#determining-how-to-display-the-authentication-ui))
2. If the user should be redirected at completion of the flow, include the `redirect_url` parameter in the request to [authorize-payment](./apireference/authorization/authorize-payment).
## Step 2: Detect when authentication is required
What you need to do
Detect when the response from the authorization engine indicates that the user must authenticate.
The authorization engine may request user authentication on any payment, regardless of whether the user processing using a new card or a previously-stored credential.
#### How to do it
1. When calling `authorize-payment`, if the HTTP status code of the response is **202 Accepted**, authentication is required.
2. Persist the intent `id` with your internal transaction record and return the authentication `url` to your frontend in order to display it to the user.
## Step 3: Retrieve the final payment result
What you need to do
After the authentication process concludes, determine the final status of the payment.
#### How to do it
1. Make an authenticated request to [get-an-intent](./apireference/intent/get-an-intent) from your application.
2. Use the returned status to update your internal transaction record and notify the user about success or failure.
```bash Authorize Payment With Authentication Redirect theme={null}
curl --request POST \
--url https://sandbox.pushcash.com/authorize \
--header 'Authorization: Bearer ' \
--header 'Content-Type: application/json' \
--data '
{
"user_id": "user_lVpbPL0K1XIiHx0DxipRbD",
"amount": 2500,
"currency": "USD",
"direction": "cash_in",
"credential_id": "cred_sandbox_123",
"redirect_url": "https://yourapp.com/payment/complete"
}
'
```
```json Authentication Required - 202 Accepted theme={null}
{
"id": "intent_sandbox_dMggQ93ZYH6DH9LBhVeijE",
"url": "https://cdn.pushcash.com/ux/intent_sandbox_dMggQ93ZYH6DH9LBhVeijE"
}
```
```json Get Intent - Approved theme={null}
{
"id": "intent_sandbox_dMggQ93ZYH6DH9LBhVeijE",
"status": "approved",
"amount": 2500,
"currency": "USD"
}
```
```json Get Intent - Declined theme={null}
{
"id": "intent_sandbox_dMggQ93ZYH6DH9LBhVeijE",
"status": "declined",
"decline_reason": "insufficient_funds"
}
```
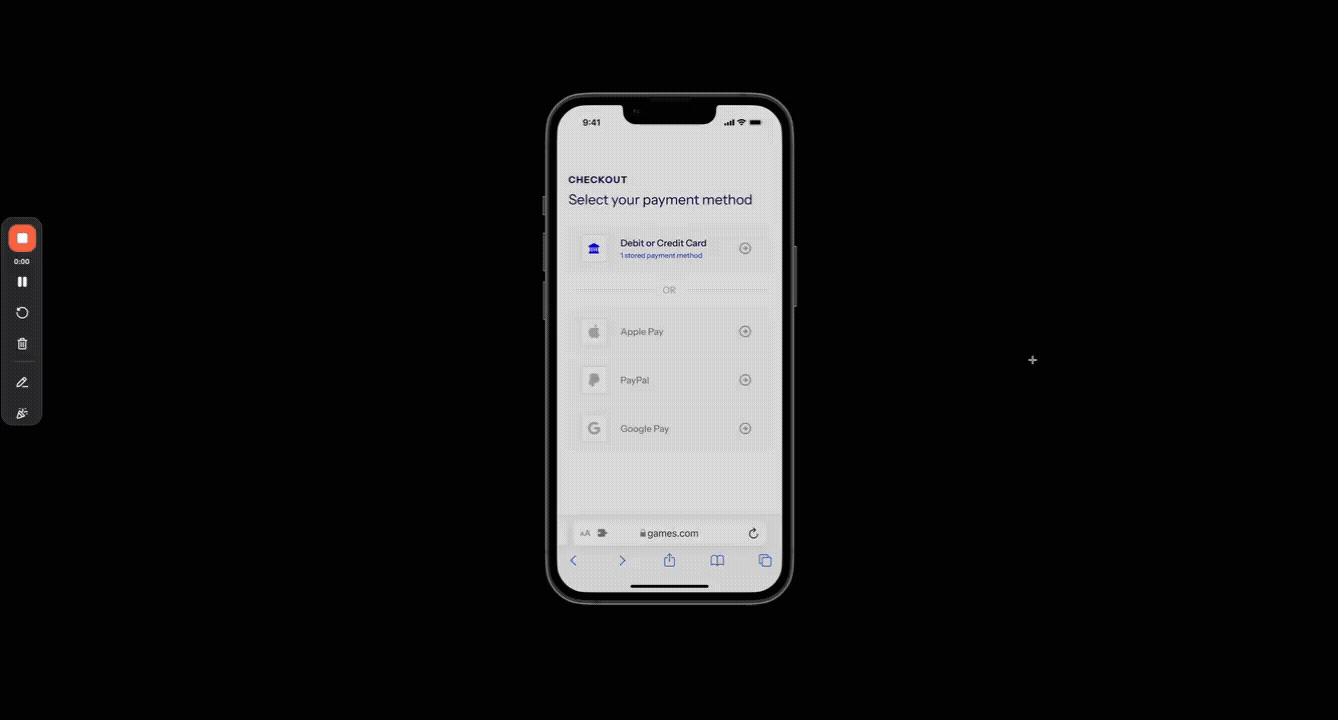
## Determining how to display the authentication UI
Choose the presentation based on how the user accesses your application:
* **Web (mobile or desktop):** present the authentication UI in an iframe. The authentication UI will signal the conclusion of the flow by submitting a message to the top-level browser window using [postMessage](https://developer.mozilla.org/en-US/docs/Web/API/Window/postMessage).
* **Native mobile app:** open the authentication URL in the device's default system browser (Safari on iOS, Chrome on Android). Set `redirect_url` on the authorization request to bring the user back to your app when authentication completes.
Use a custom scheme (e.g. `pushcash://`) or a Universal Link / App Link as your `redirect_url` so the system browser can hand control back to your app.
```mermaid theme={null}
flowchart TD
A[User needs to complete step-up authentication] --> B{Is user accessing the payment page via a standard browser environment which supports opening additional windows / browser tabs?}
B -- Yes --> C[**Use iframe**
- Omit redirect_url from authorization request
- Listen for postMessage for when to remove iframe from DOM]
B -- No --> D{Is the user accessing the payment page via a
native mobile app?}
D -- Yes --> E[**Use redirect**
- Set redirect_url parameter in authorization request
- Open the authentication URL in the device's default system browser
]
D -- No --> F[Default to iframe
Omit redirect_url]
```
## Integration checklist
* Include `redirect_url` in the authorize request if the user will complete authentication in the device's default system browser rather than an iframe
* Handle `202 Accepted` responses from `authorize-payment` and present the authentication UI hosted at `url` to the user.
* Persist the intent `id` before presenting the authentication experience to the user alongside your internal transaction record.
* Test authentication required response from authorization engine using test card `6011 0009 9013 9424`
* Test a payment decline after the user completes authentication using test card `5999 9819 6976 9283`
## Next steps
Now that you can process payments which require user authentication, learn how to enable webhook notifications to receive asynchronous updates on the final payment result.